Ready, Willing, and Tables
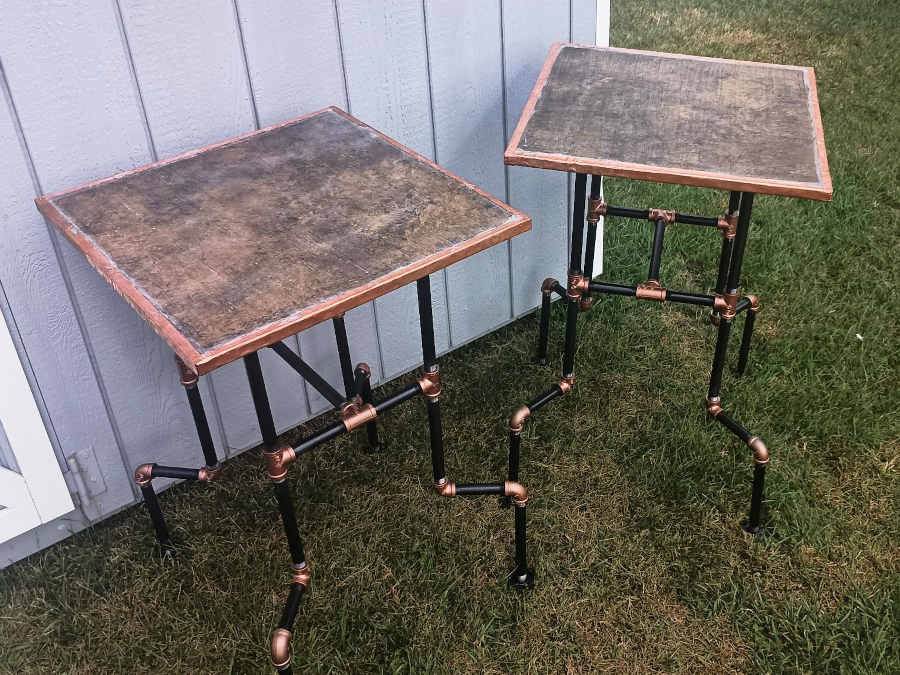
Meet "Castor" and "Pollux."

So, long story short, Joe and I have completed the first offering of the unofficial trial-run of our joint steampunk furniture venture.
Since we've been working here and there around each other's schedules—and, fun fact, we have absolutely no idea what we're doing in the realm of pseudo-woodworking and furniture-building—I decided to offload the pictures of our slow but steady progress into its own article for those who might be interested.
So, enjoy. Or don't.
Turning Wood into Metal
Just a reminder that we started with two scrap pieces of MDF from some entertainment center thing we took apart in Joe's shed.
So, the first step was to turn those into something that looked like... well, pretty much anything other than scrap MDF from Joe's shed.
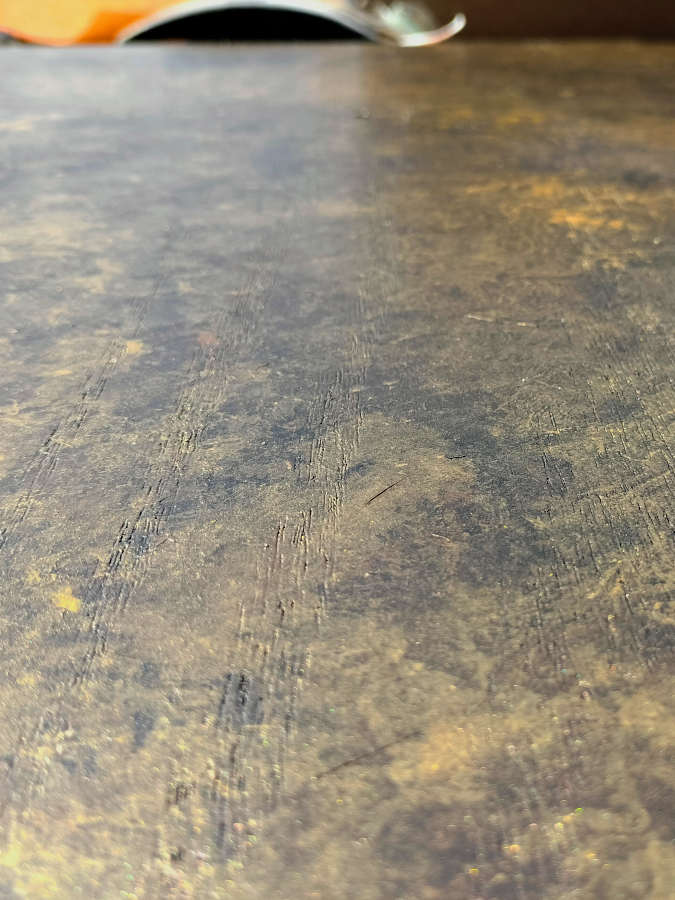
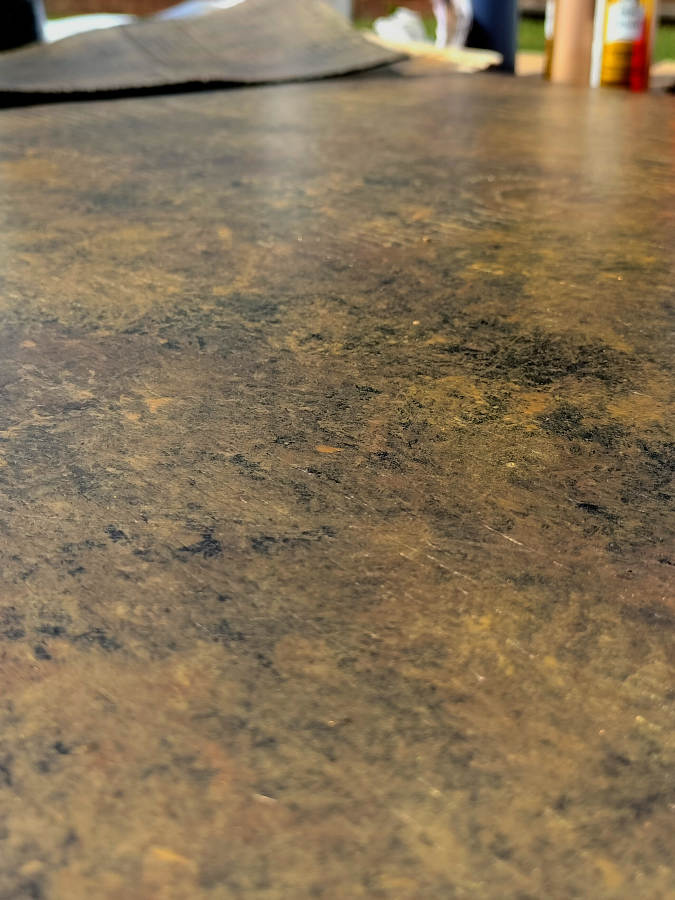
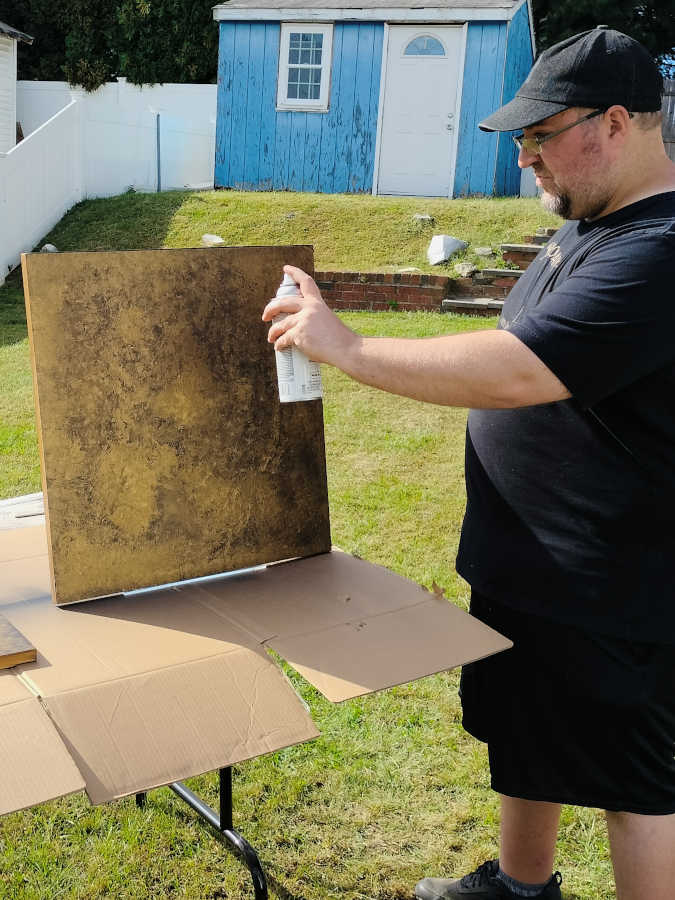
I opted to try my luck with acrylic paint.
It took me the better part of half an hour to develop a touch for painting; but then I was able to kinda-sorta simulate greasy aged metal...
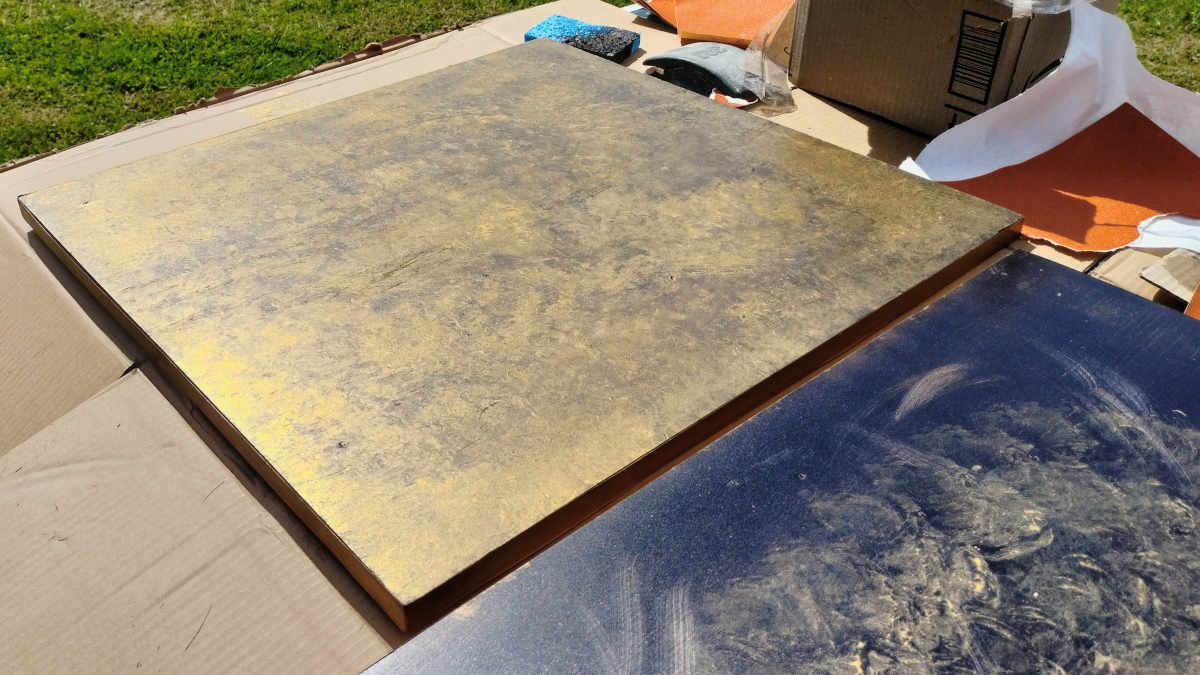

Not too shabby...
If I hadn't personally fumbled my way through creating this, I'd just as easily look at it and assume whoever painted it actually has some real skill!
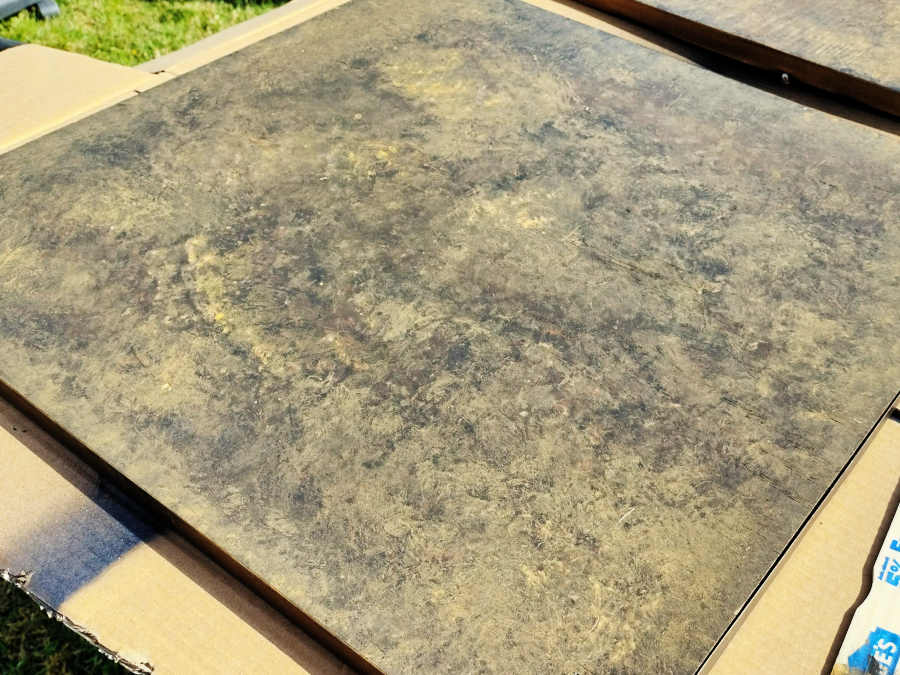
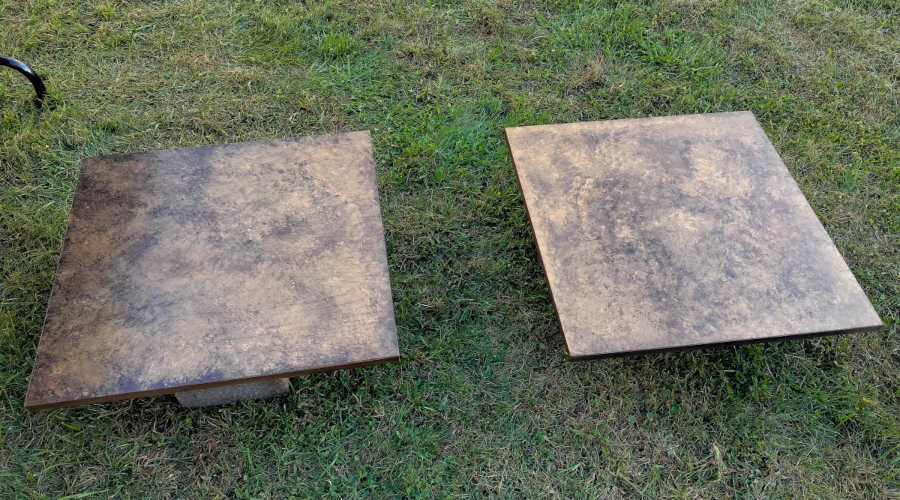
From some angles, you could very much still tell that this was wood; but from others, it really looked like metal...
The Spill
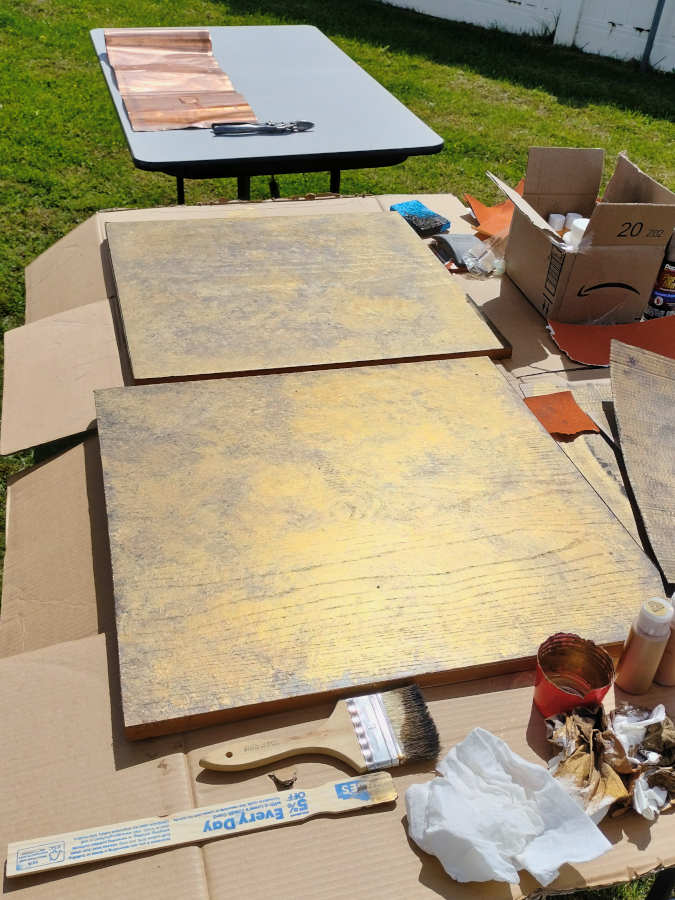
After I painted both slabs, we propped them up on a table in Joe's backyard to let them dry.
But it was windy that day; so one of the slabs decided to capsize... and also took down the little toolbox-cabinet-thingy we'd used to prop up the second slab.
So, we found ourselves with a huge pile of rusty screws, bolts, and other hardware that we had to sort out and put back into their respective drawers...
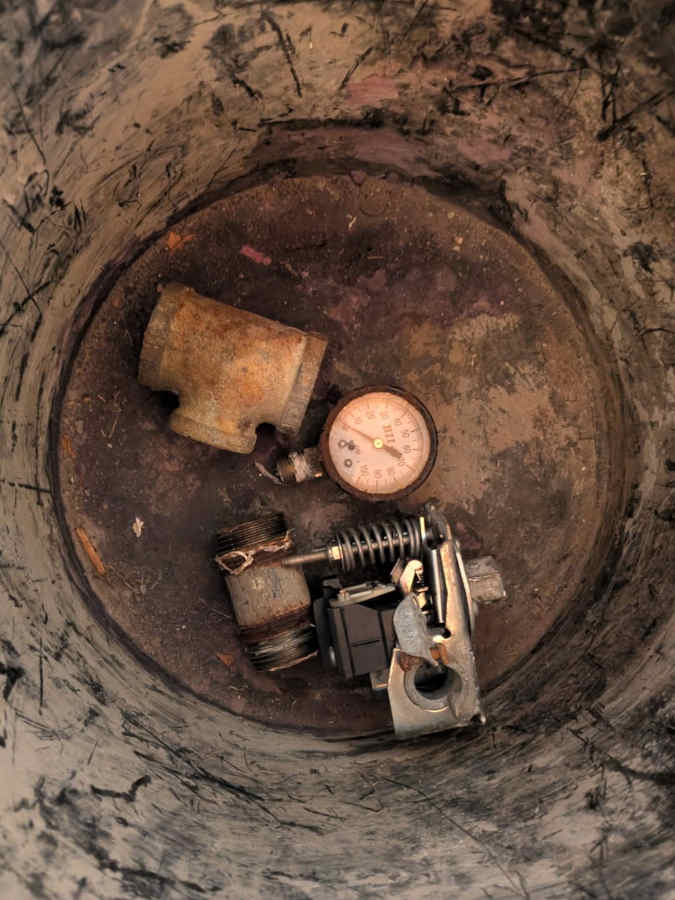
But, as we cleared off the bigger pieces and got down to just the tiniest of the washers, it was a bit of a holy crap! moment...
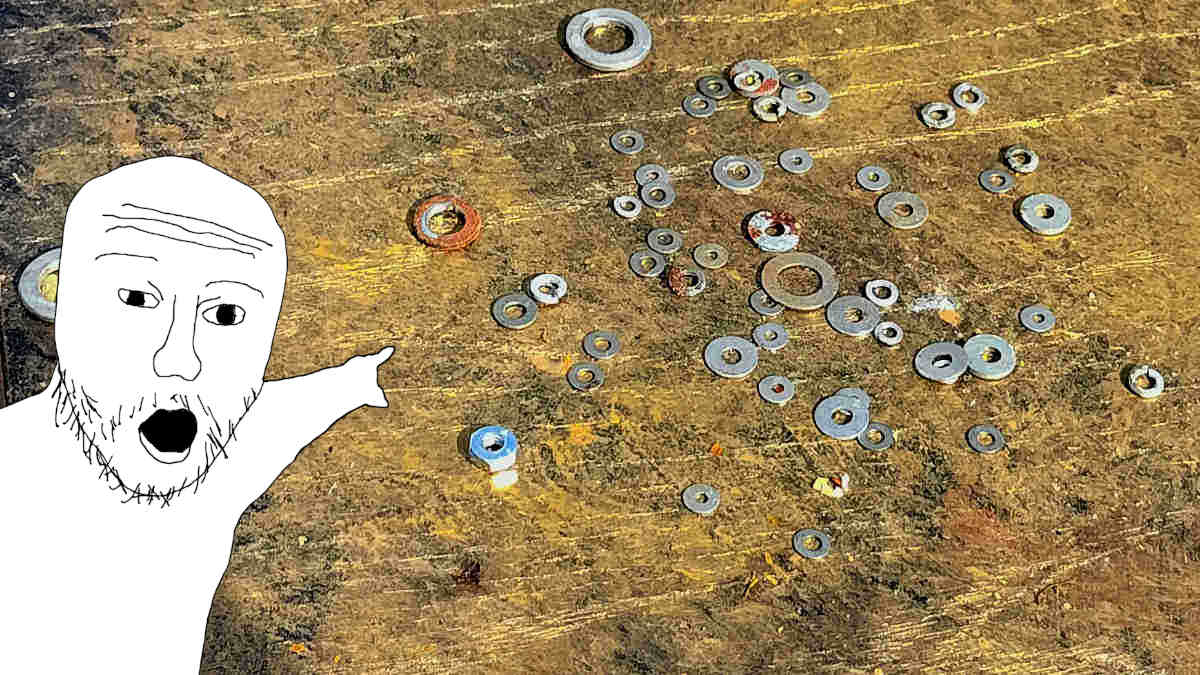
We should just pour a flood coat of epoxy over that bitch and call it a day!
But we didn't... because epoxy's like $65 a gallon, and we're still learning how to finger-paint with acrylics.
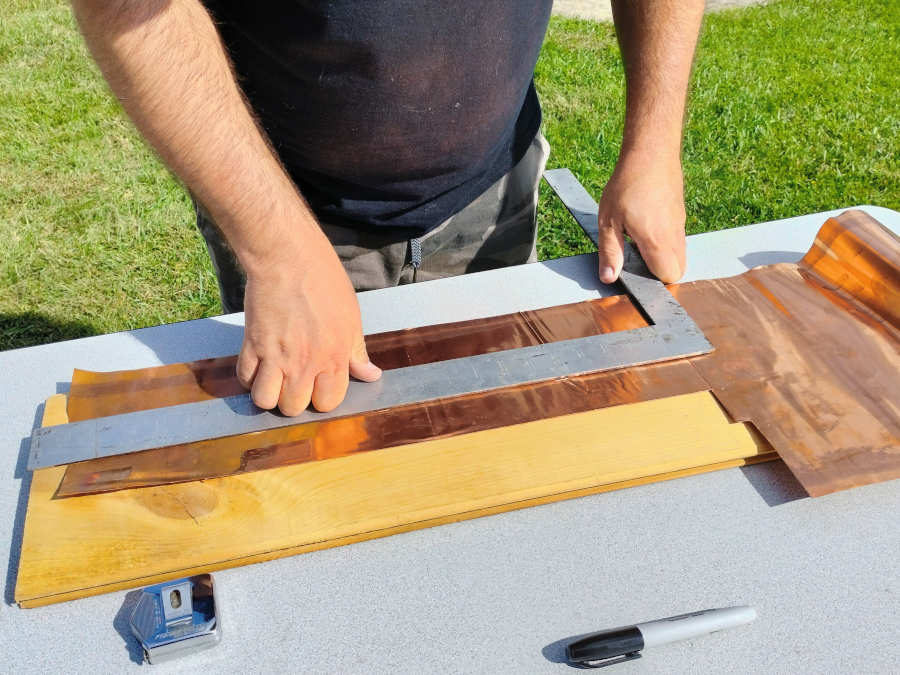
Rolled-Copper and Painted Nipples
While I applied a clear coat, Joe started cutting pieces of rolled copper that would serve as a trim around the sides of the tabletops...
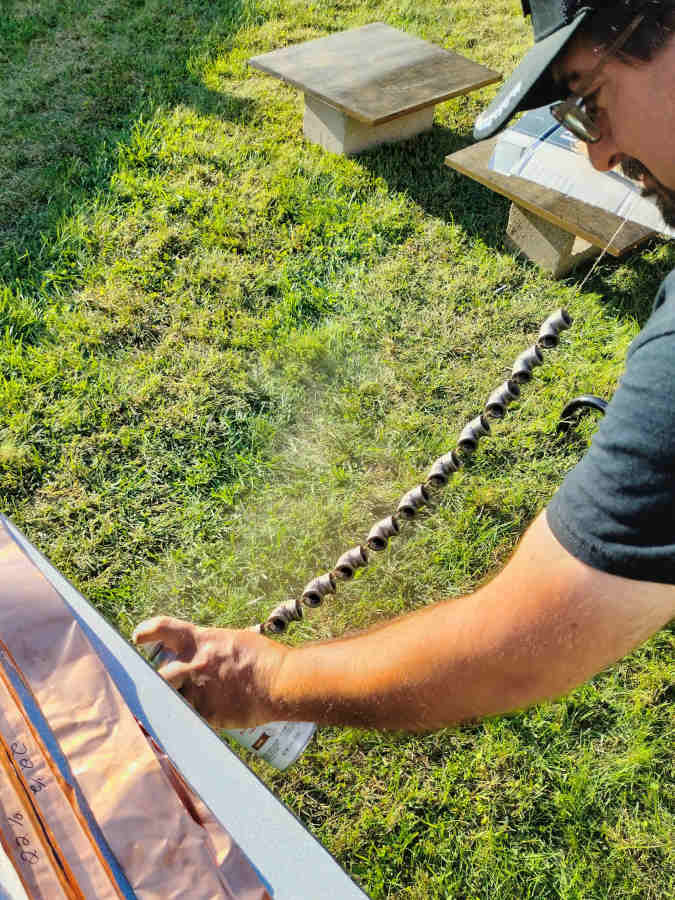
Then it was time to paint the nipples!
Personally, I'd be inclined to just call anything over maybe three inches or so a piece of pipe—and anything more than half an inch or so a teat or an udder.
But, what do I know? It's nipples all around, apparently. And we had to paint ours to make them look not-shitty.
'Painted nipples' sounds like something you'd ordinarily have to trek across the country to some San Fransisco pride parade to see; but we got our freak on right there in Joe's backyard here in the bowels of Philly!
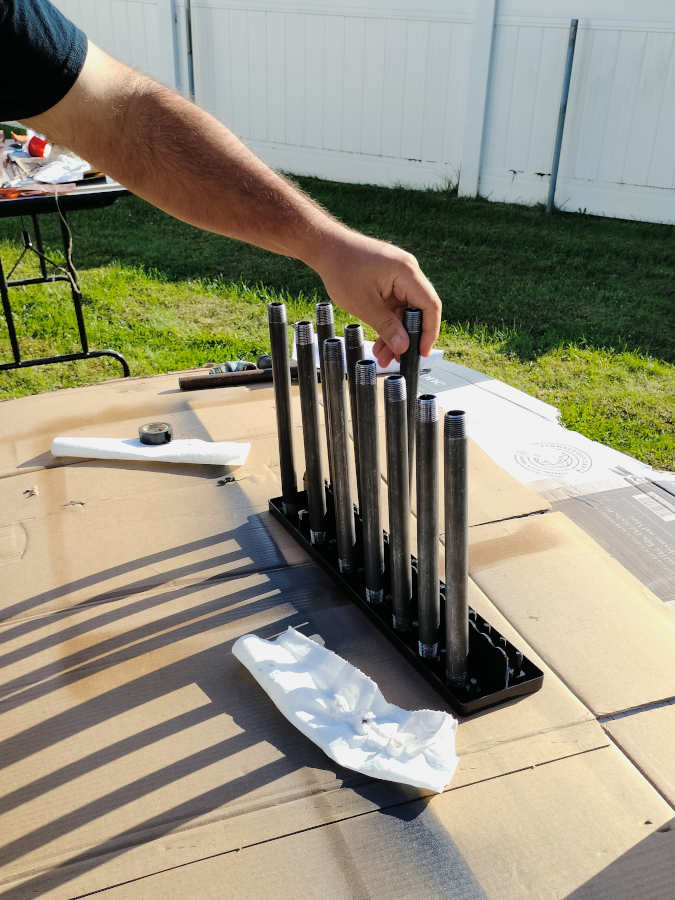
Nipples, Assemble!
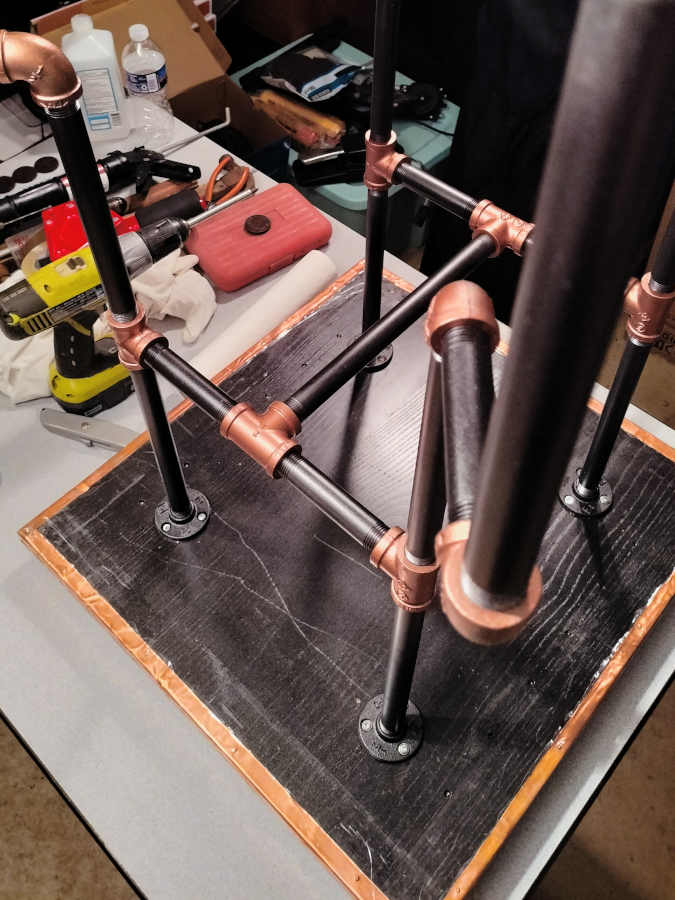
After the nipples were dry, we assembled the tables' legs...
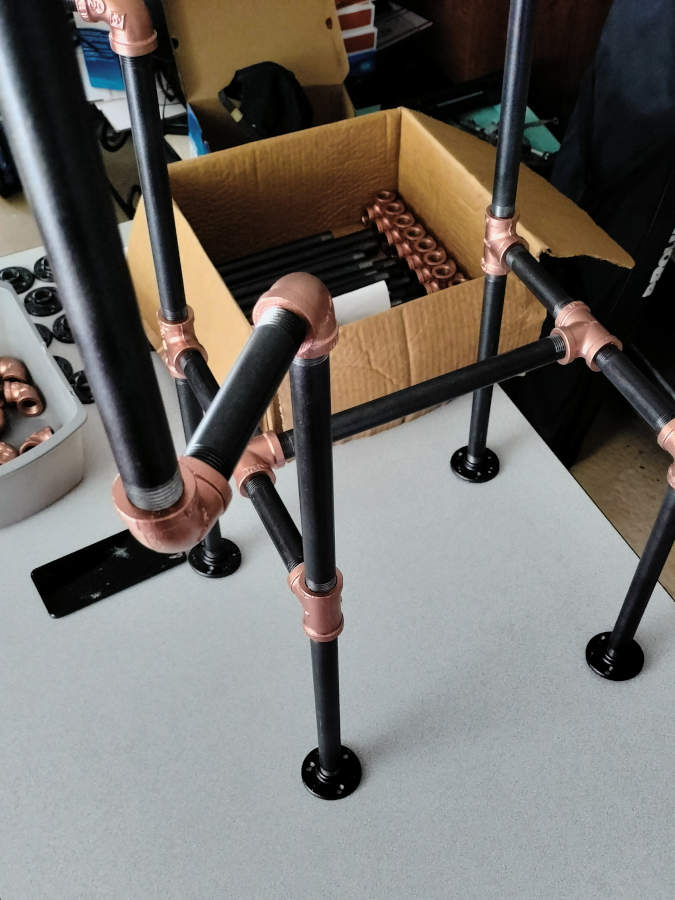
...as per this slick and super-professional blueprint I had drawn up a few days prior...
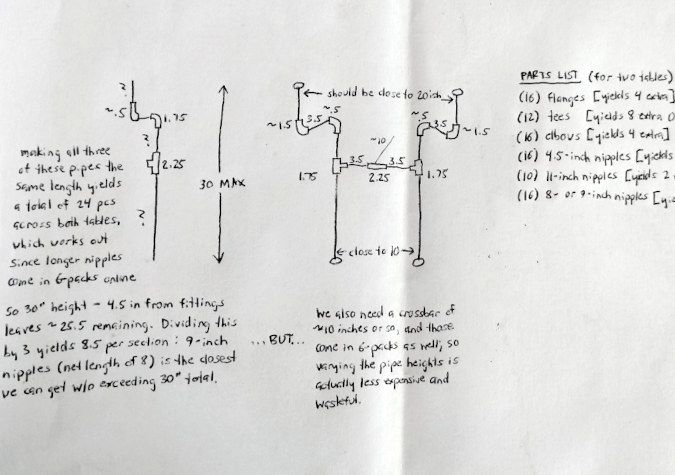
There was just one problem: I drew up those plans when I was still a furniture-design virgin who had never screwed—or even touched—a nipple in real life.
So, imagine my surprise when Joe and I started putting everything together, and the threads on the ends of every pipe only disappeared about halfway into their respective fittings.
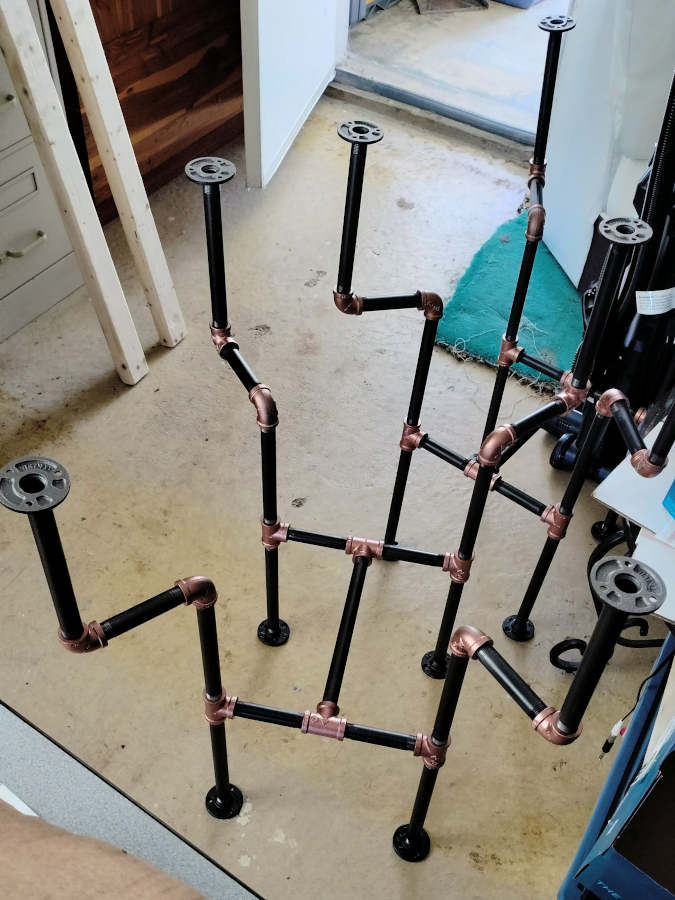
The result was that the flanges in the photos above protruded about half an inch out past the edges of our tabletops—making my design completely unworkable.
Or did it?
I'm nothing if not a hacker; so I looked at Joe and shrugged... and then I said, "We're just gonna turn these !@#$%^& things upside-down. And these won't exactly be the tables we thought we'd be building; but at least we'll be able to salvage the project.
So, that's what we did. Don't tell anyone.
Mitigating the Tetanus
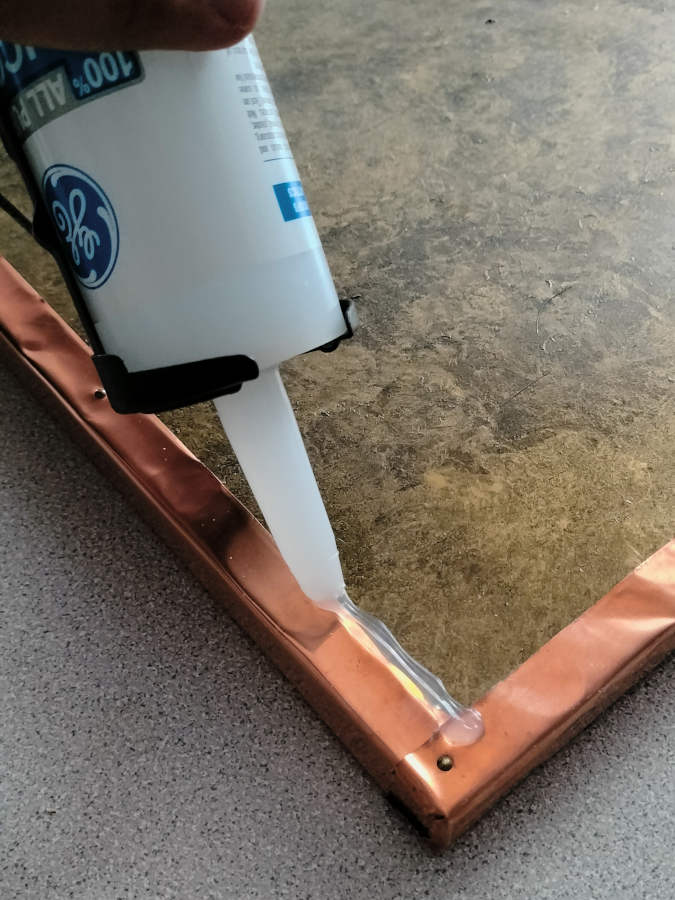
I don't know if anyone ever got tetanus off of a piece of copper, or if copper has antimicrobial properties like brass does; but we knew we had a sharp edge on our rolled-copper trim that we'd have to take care of somehow.
So Joe procured us a tube of clear silicone and tried to apply a bead around the perimeter, so as to dull the razor-sharp edge.
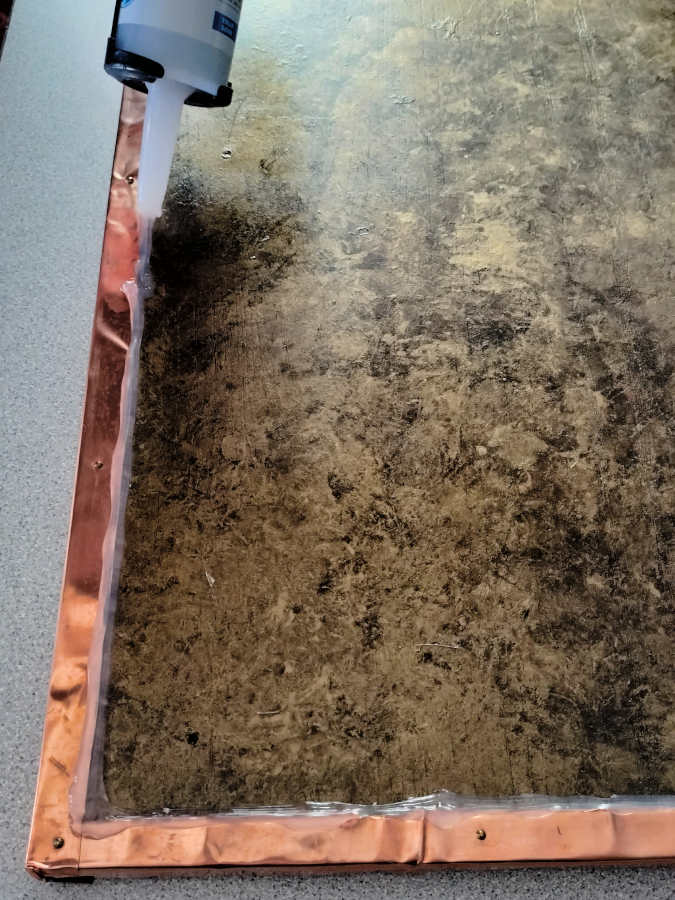
But he didn't like how it looked; so we decided to put that on hold for the time being, and we anchored the tabletops to the legs first instead...

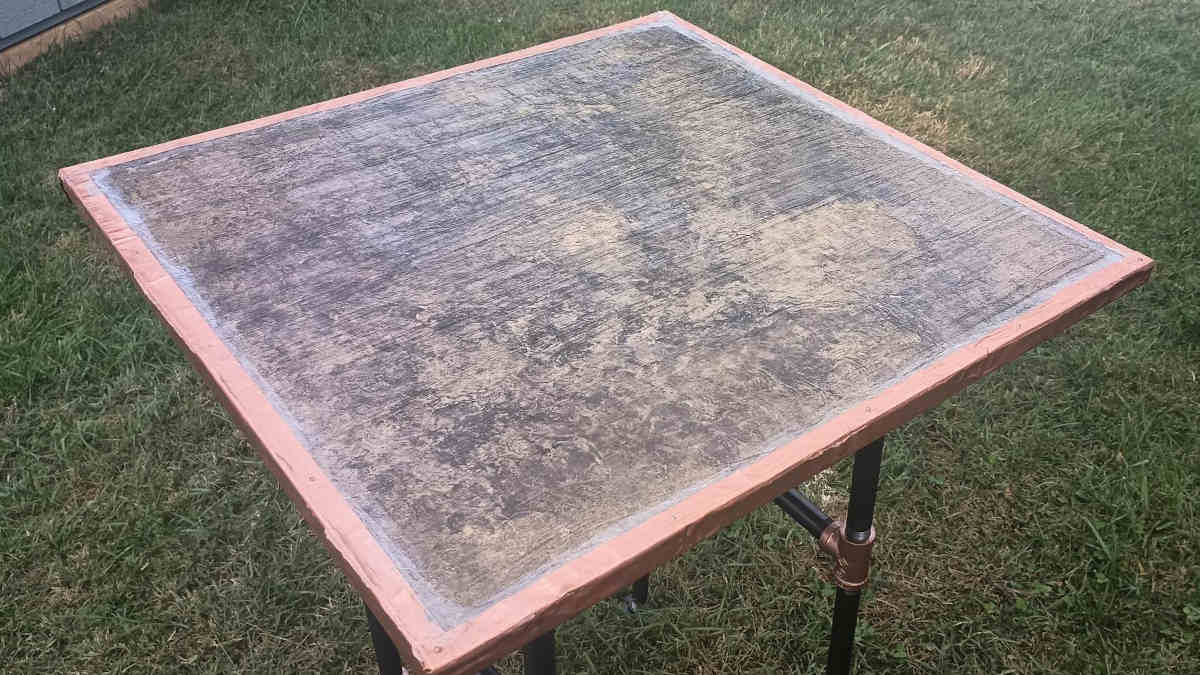
Silicone Tsunami
After trying a few more ideas, Joe had had it with attempting to use the silicone to seal off the sharp copper edge.
We ended up using a thin line of packing tape—which looked great until the next day when air got under the entire thing.
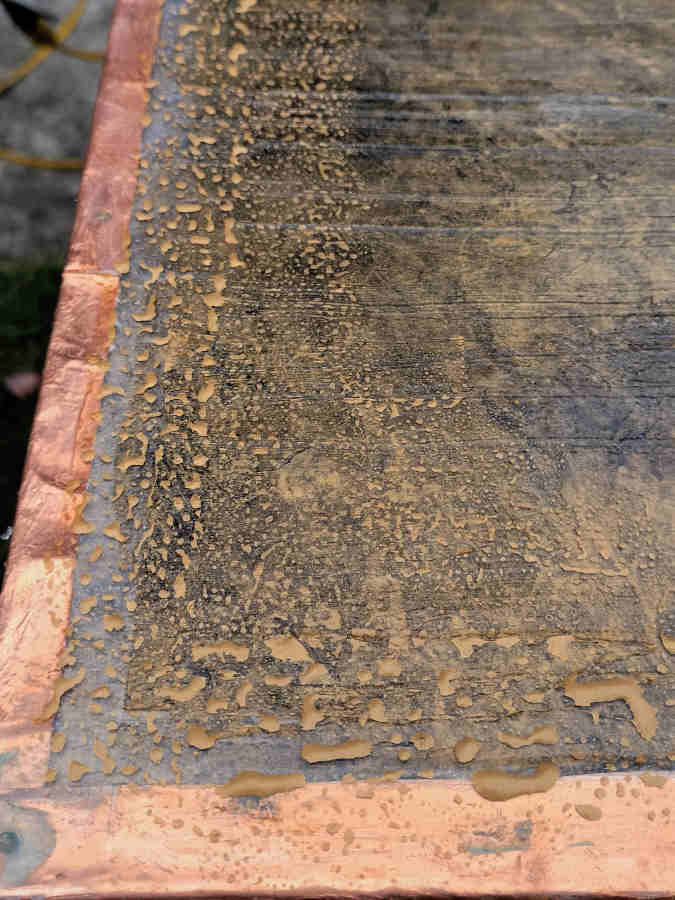
So then Joe said, "Why don't I just cover the whole damn top of each table with silicone and see what happens?"
What's the worst that could happen... We'll hit a snag and have to make a Plan B like we have at literally every other stage of these stupid things?
Go for it, dude!
So he did.
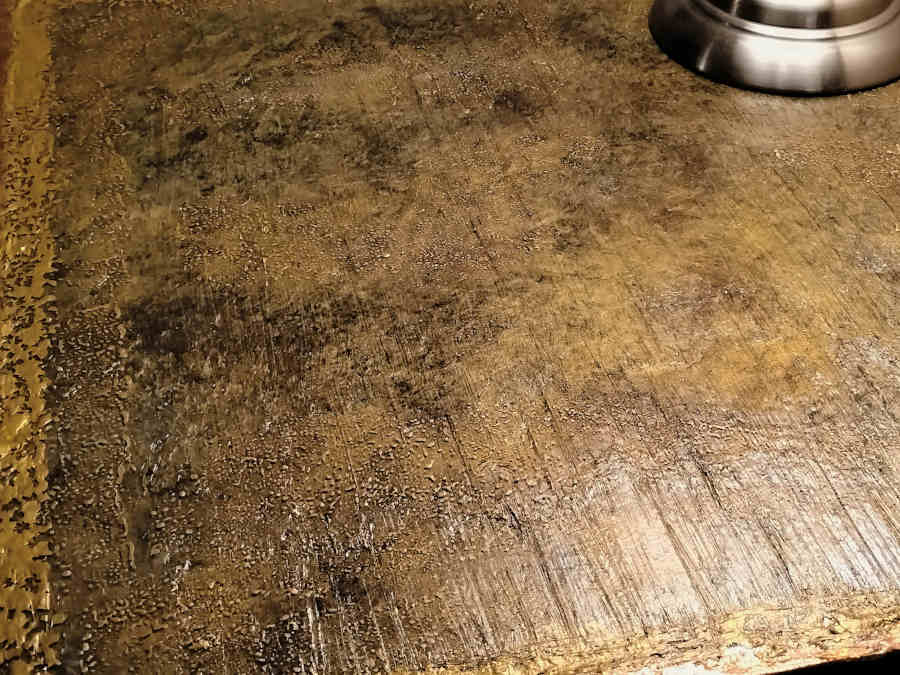
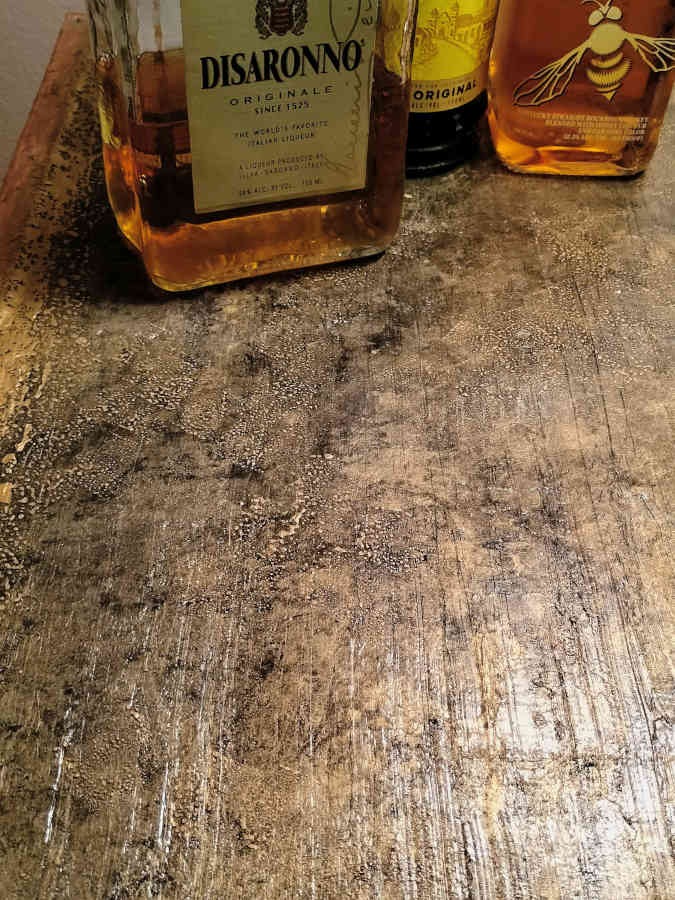
And, um... it's definitely a unique look and feel.
We've never seen (or felt) anything quite like it; but we really dug it for the most part!
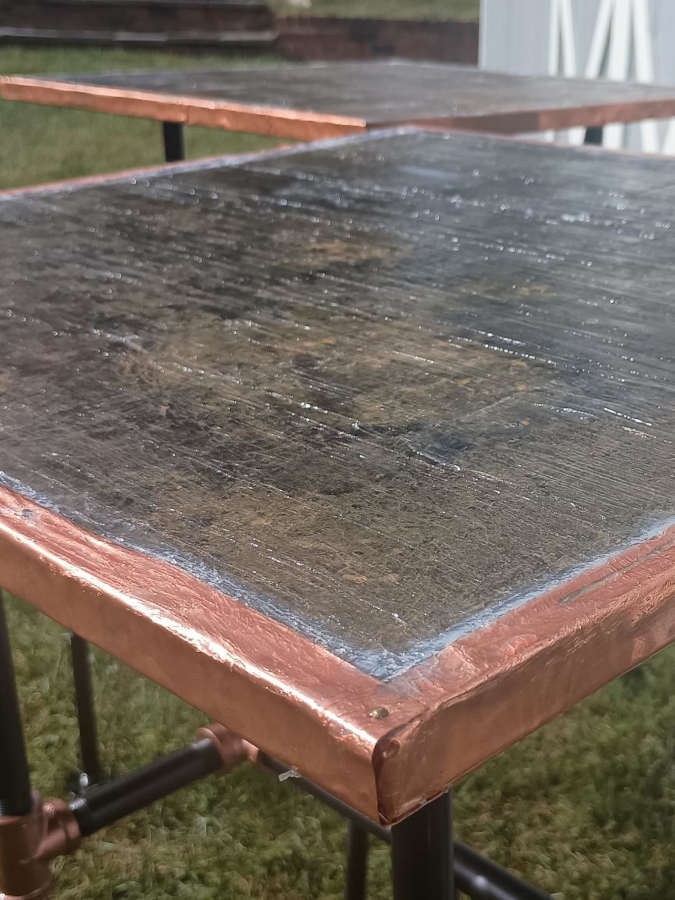
The wood grain totally disappeared under the gloss of the silicone, and these things suddenly looked way more like metal than they had before...
Meanwhile...
Sometime last month, I'd had the bright idea to reach out to my friend Lee...
And Lee's a really solid dude; so of course he came through! He sent me back this picture of the collection he started for me...
...And then he said, Oh yeah; and I have all this, too...
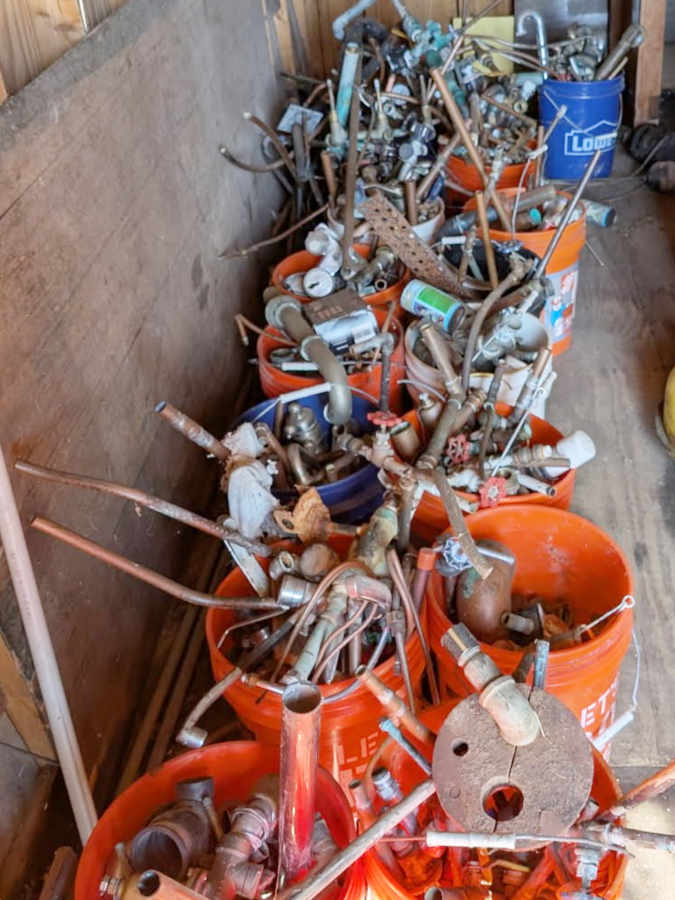

Joe and I were nowhere near graduating to that caliber of stuff just yet; but I definitely made a mental note.
And then, last week, Lee sent me an update...
Welp?
How else could I respond, except for the old Winston Wolfe line from Pulp Fiction?
I actually meant 10 hours though—because I knew there'd inevitably be some kind of horseshit between us and Lee's house.
And, boy, was there!
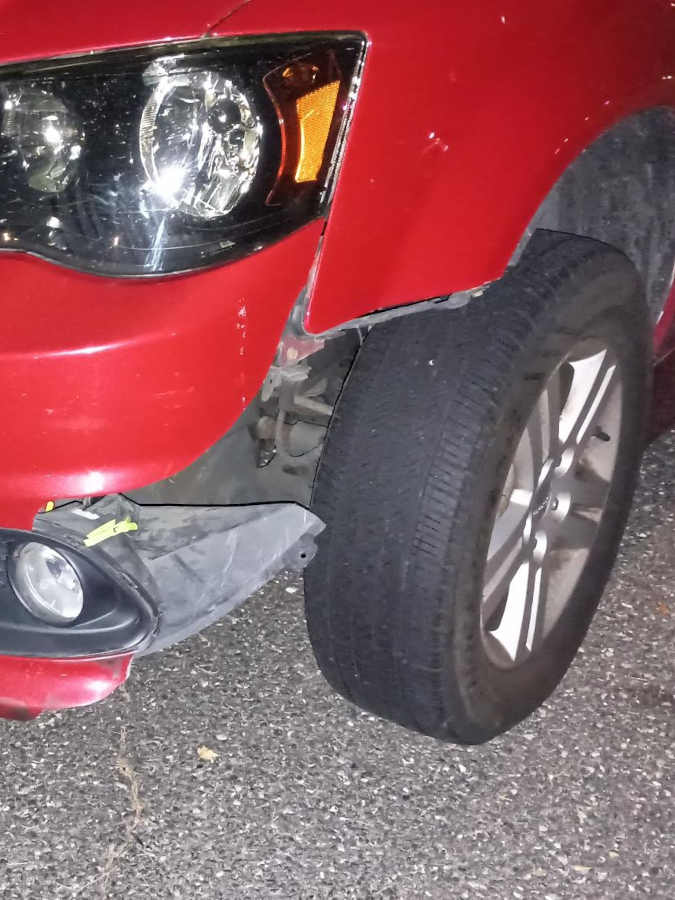
First a truck in front of us on the highway had a blowout and slingshotted his spent tire back at us like a rubber cannonball that took off the front bumper of Joe's van...
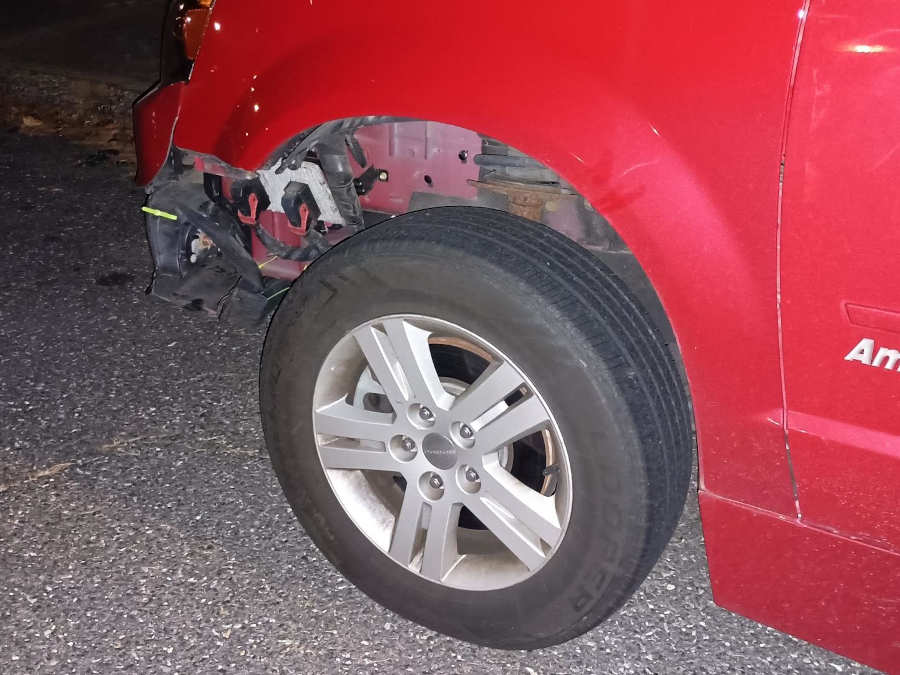
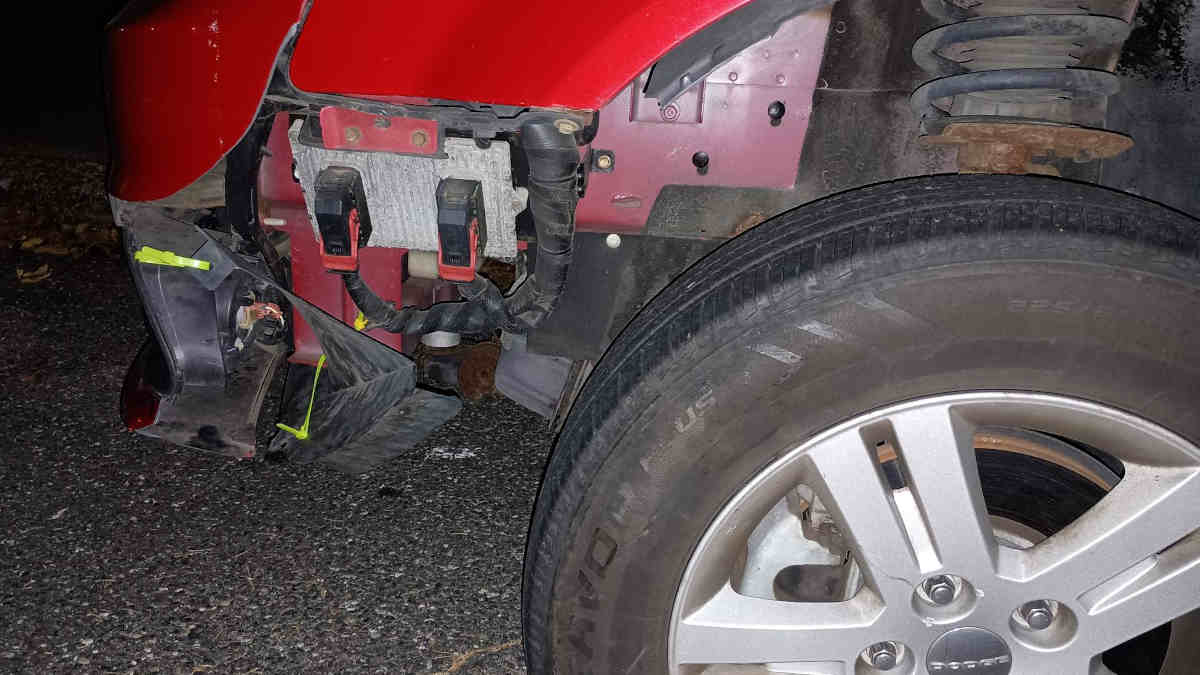
Then all the other regular BS happened as well...


But, was it worth it?
You tell me...
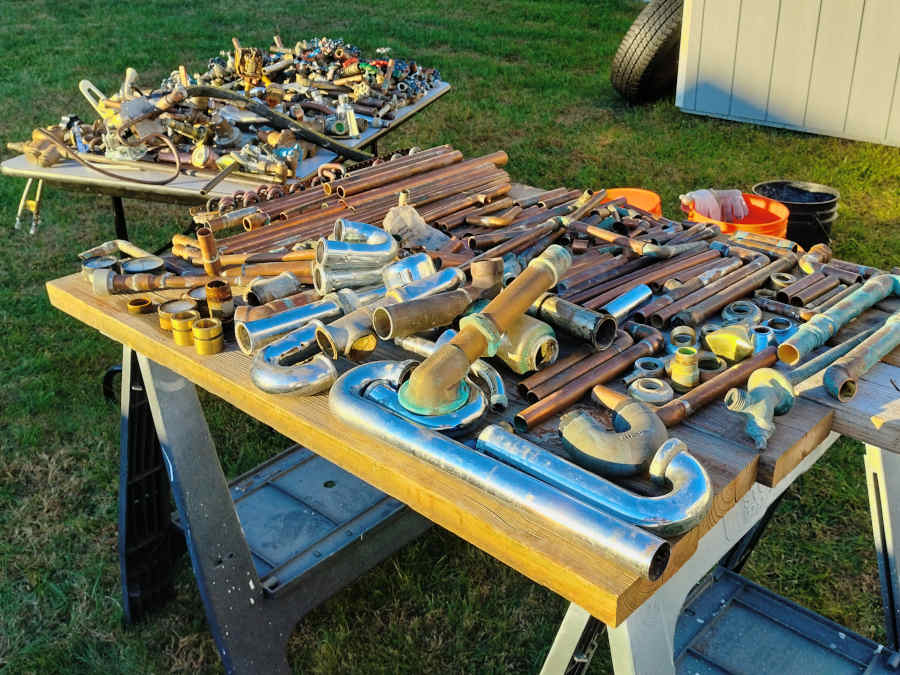

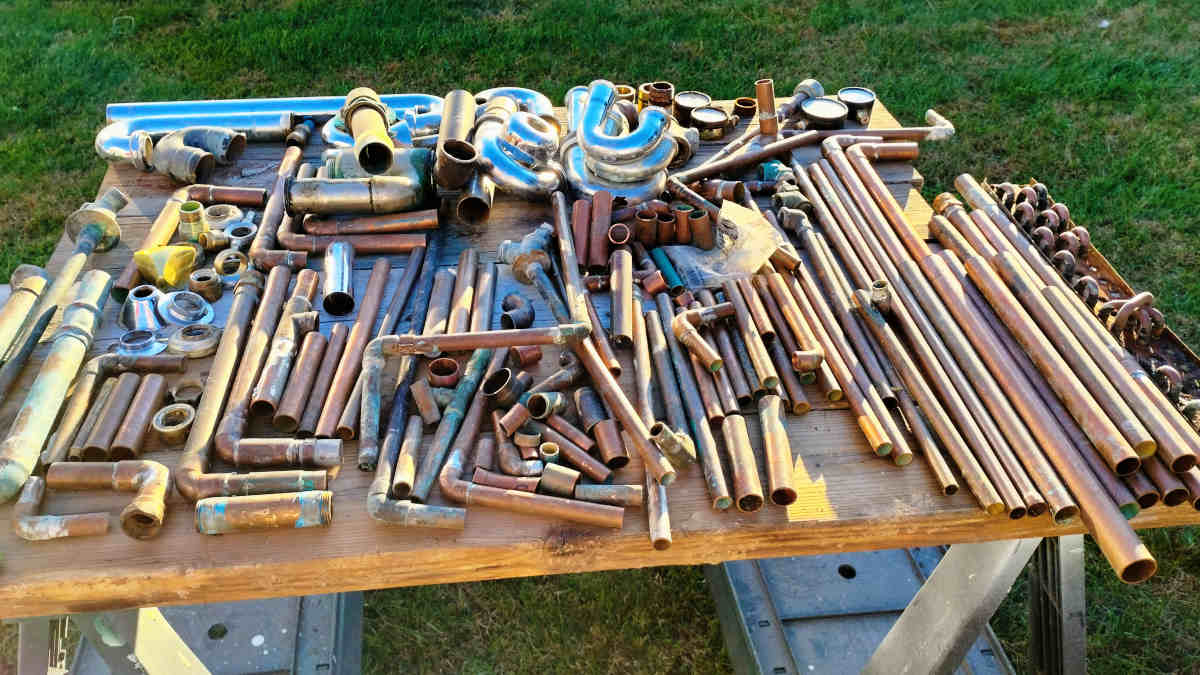
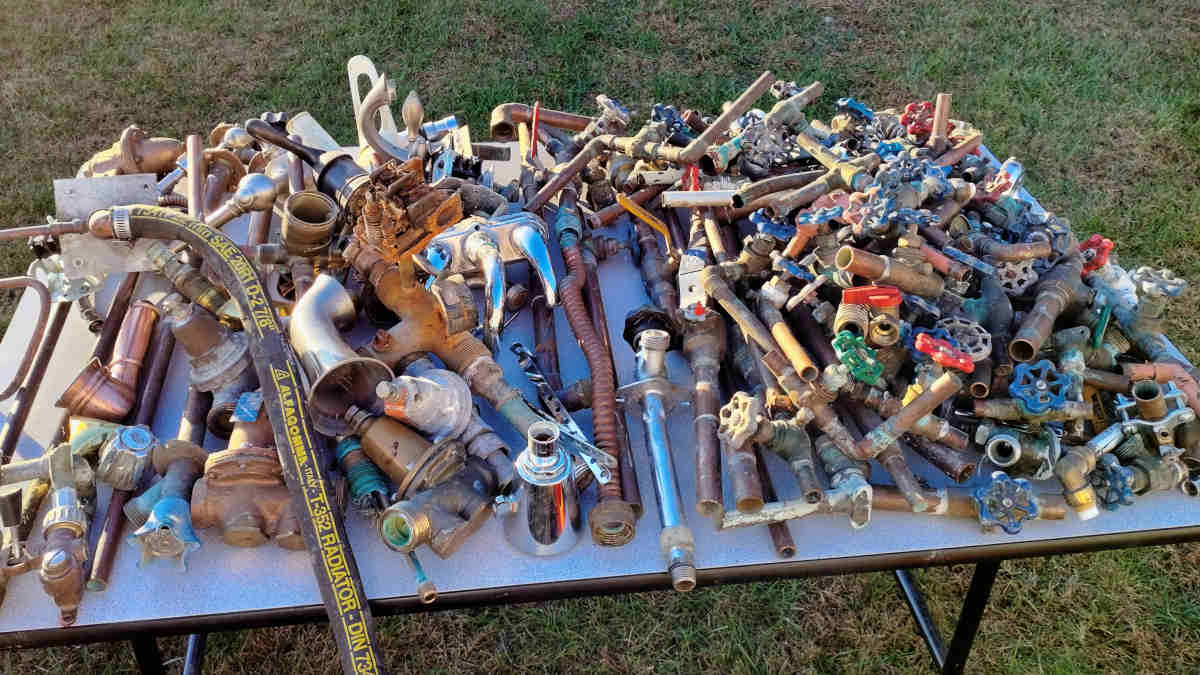
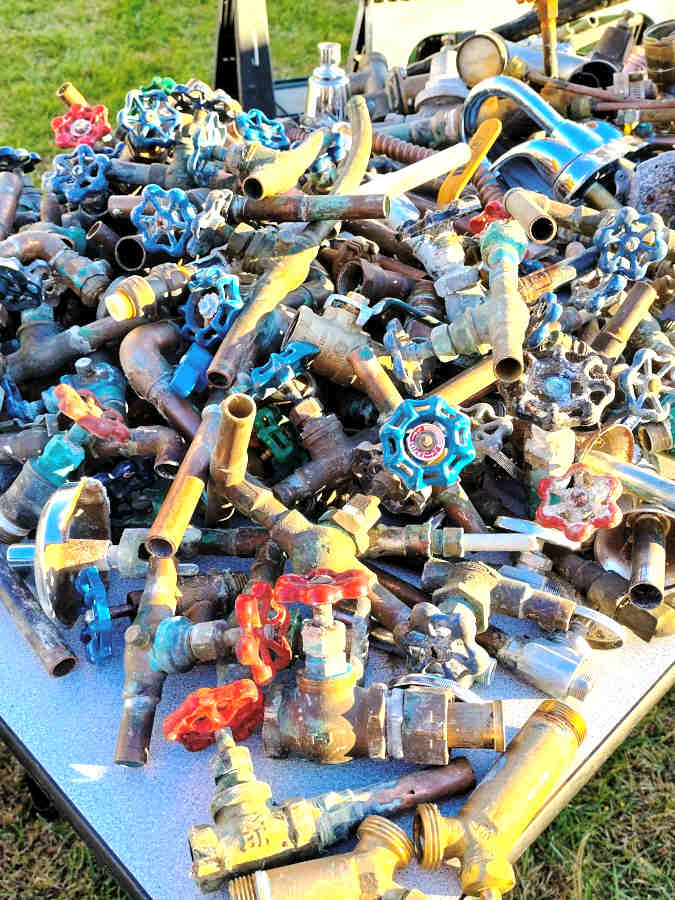
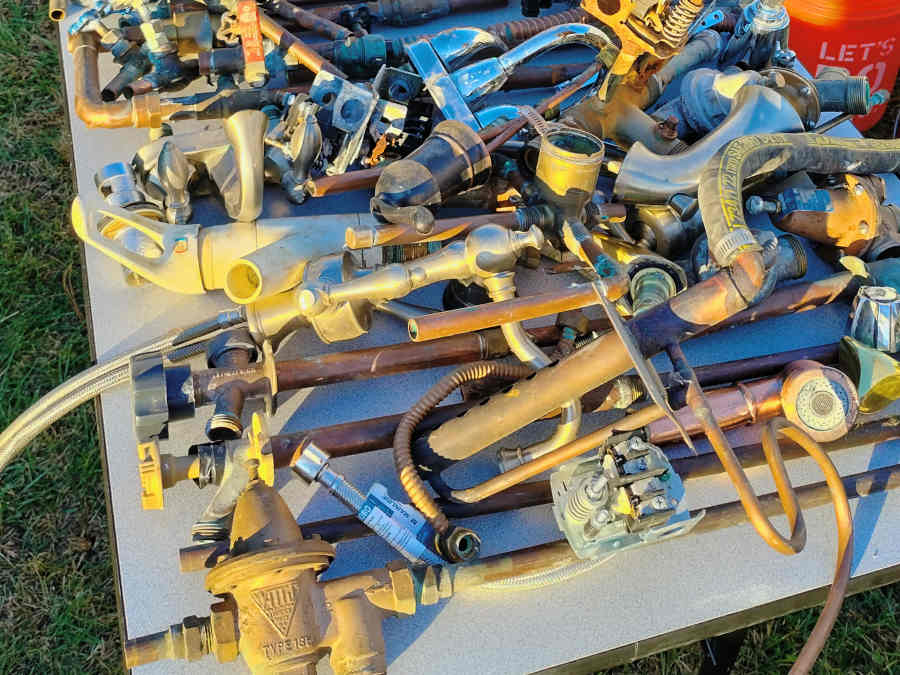
We're now the proud owners of a lifetime supply of run-of-the-mill steampunk paraphernalia... along with a few odds and ends most of our competitors probably won't be employing.
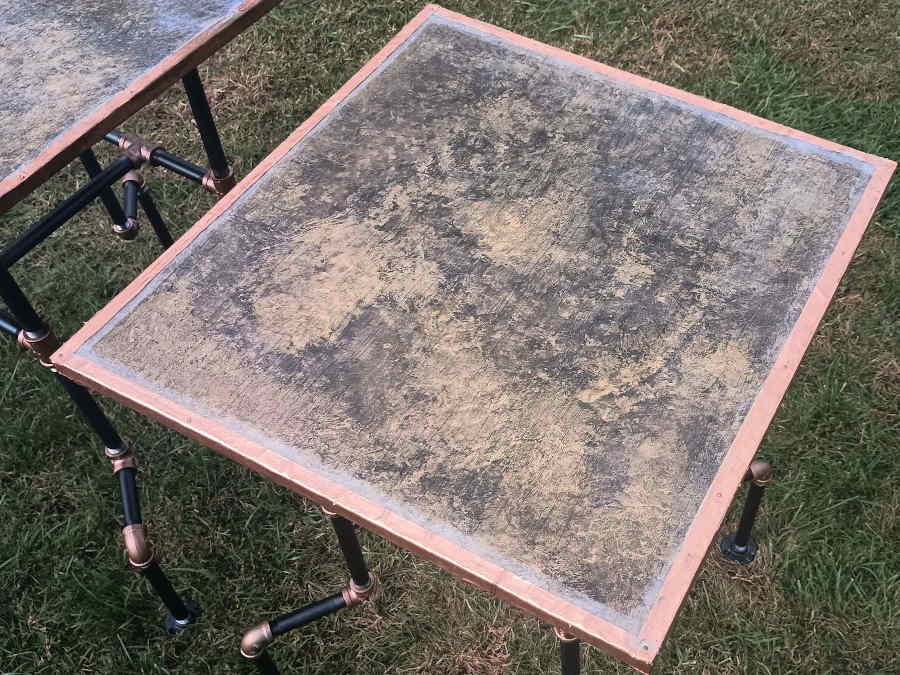
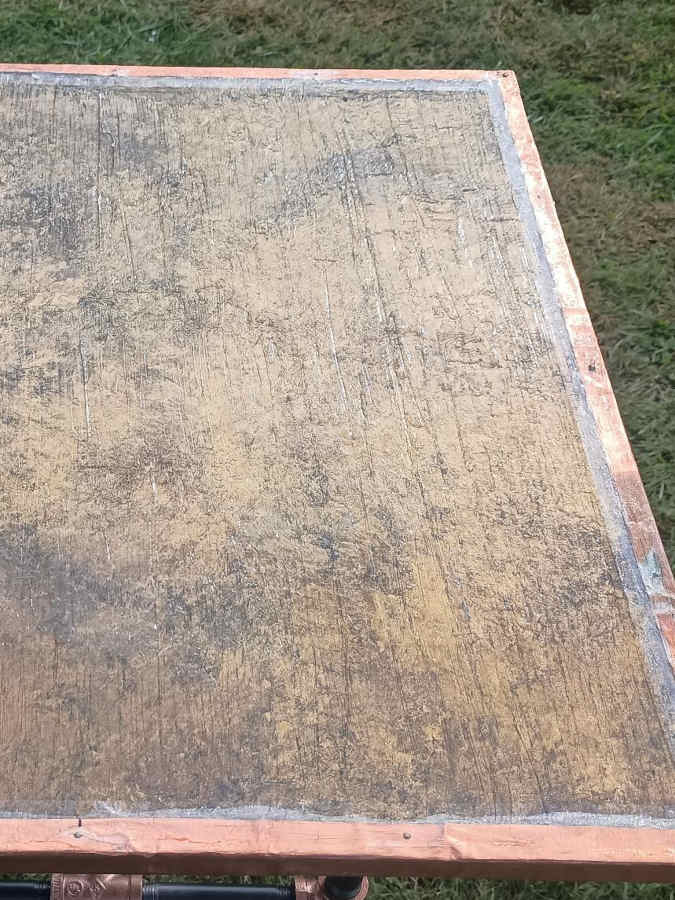
Innocence, Gilt, and Riveting Rivets
The tables were by now fully dry, although Joe and I weren't thrilled about how conspicuous the packing tape still was, even under all that silicone.
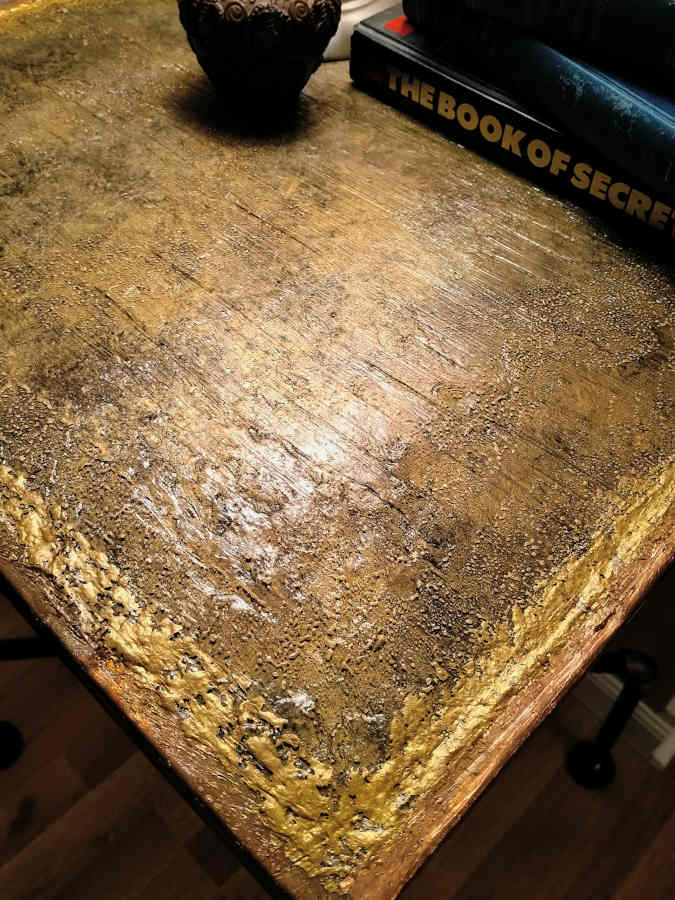
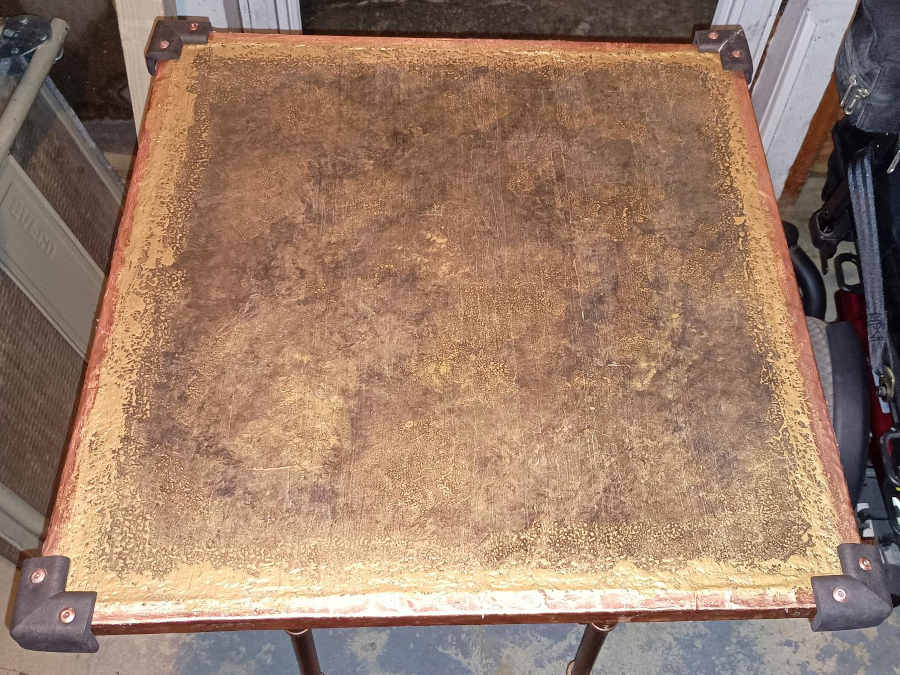
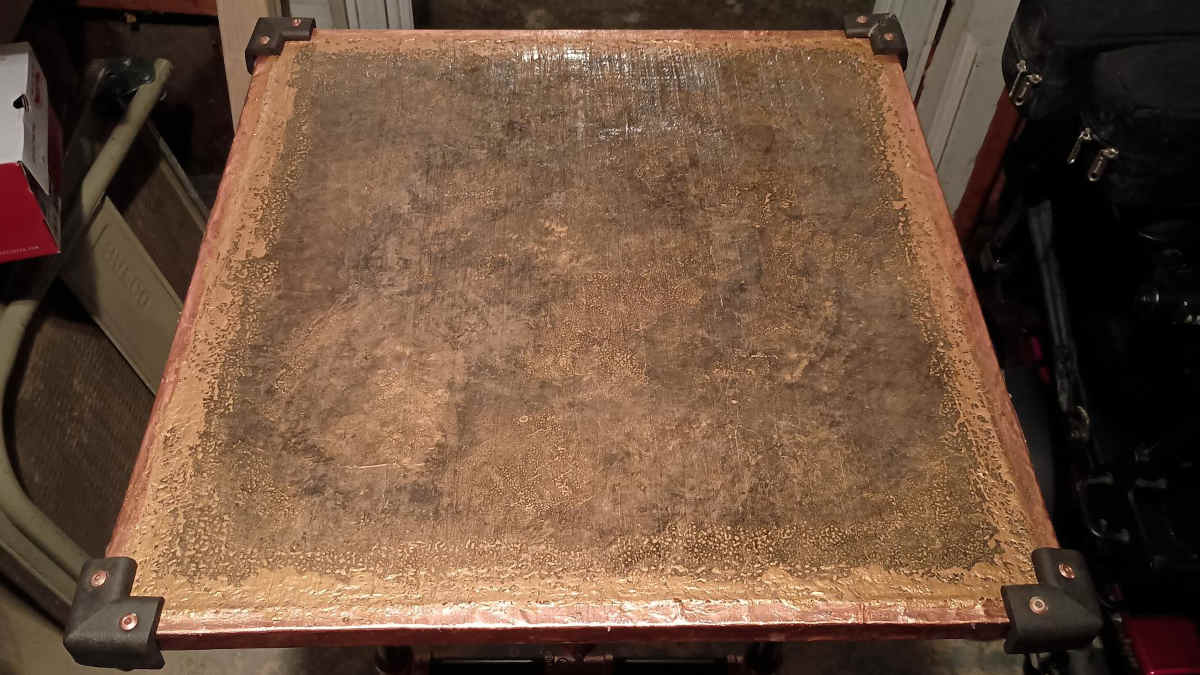
So I decided I'd whip up a slurry of gold-copper-bronze acrylic paint and try my hand at some faux-gilding to help mask everything.
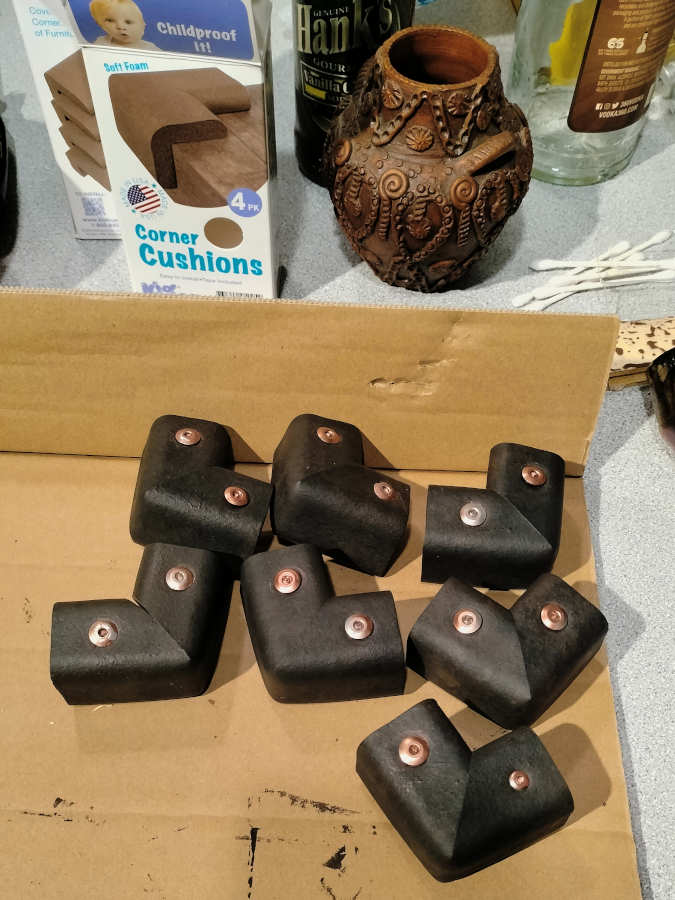
Meanwhile, Joe had found some foam corner guards that would let us deal with the sharp copper edges that were still on the outside corners of the tabletops...
These first coats of my gilding and faux-leather paint jobs left a lot to be desired; but I knew they'd get better with subsequent coats.
Had to let the first ones dry first; and, in the meantime, we were using acrylic again on top of the silicone... so we'd need to seal that afterwards.
Off to Michaels we went for a tube of Modpodge.
On the way home, I saw this license plate...

Then my mom texted back...
I'm not a statistician, but someone should definitely crunch the probability on that happening.
The Final Build... Asterisk
With my initial coat of gilt dry, I applied on a secondary coat.
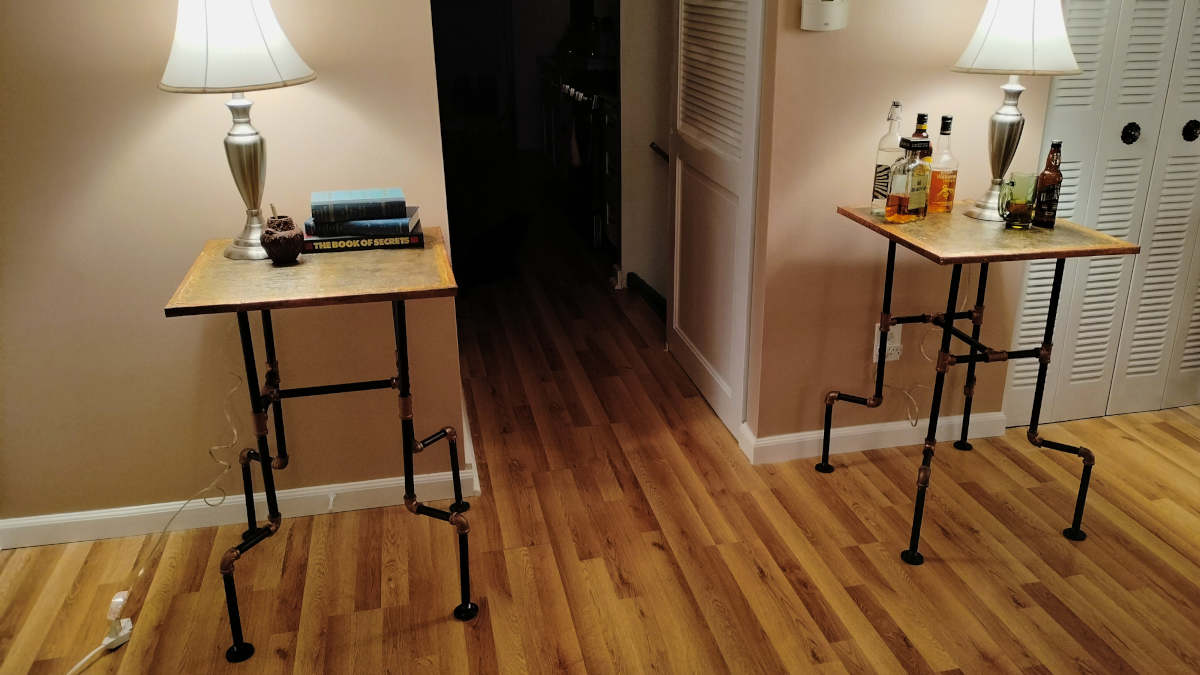
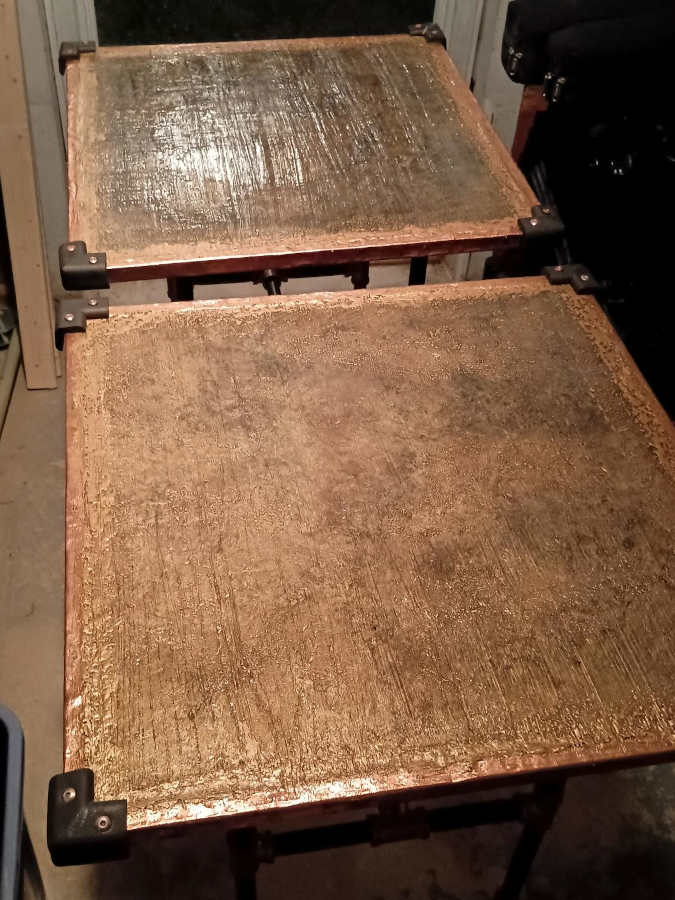
Joe and I were much happier with this look; and we figured it was time to take some staged pics so we could list these puppies for sale.
Ready? Go!

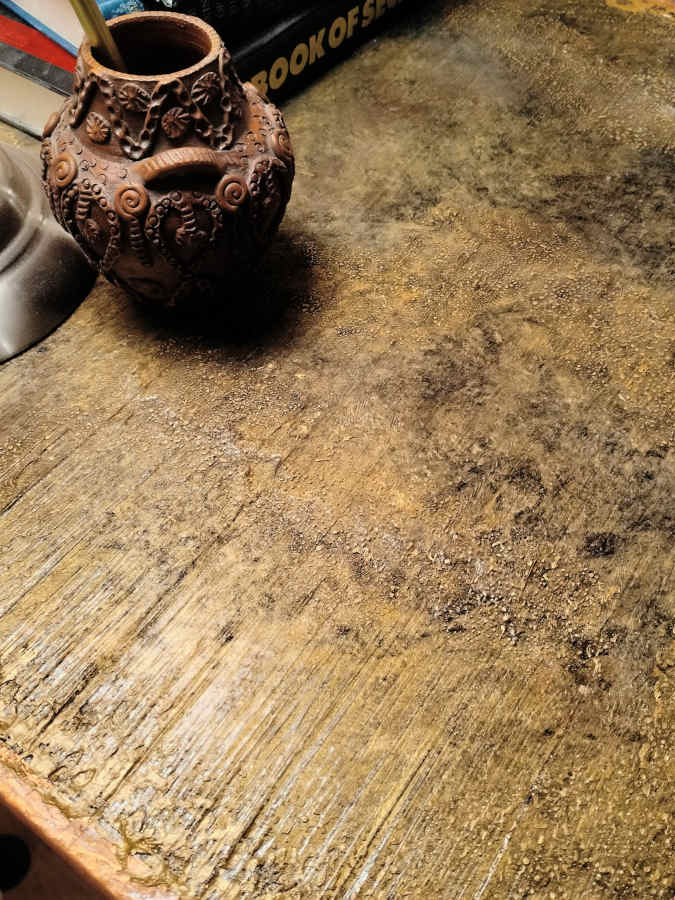
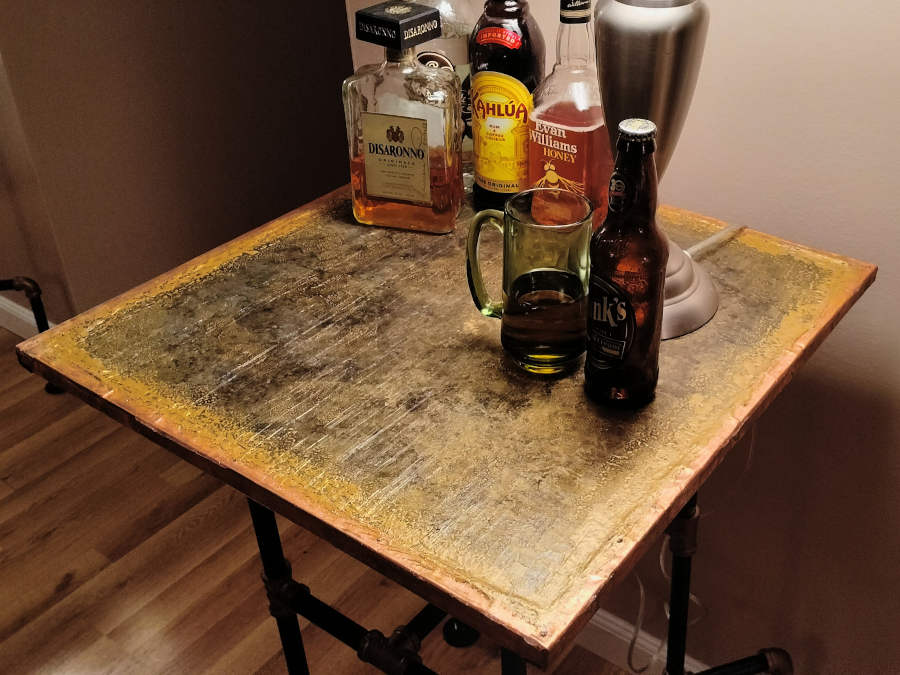
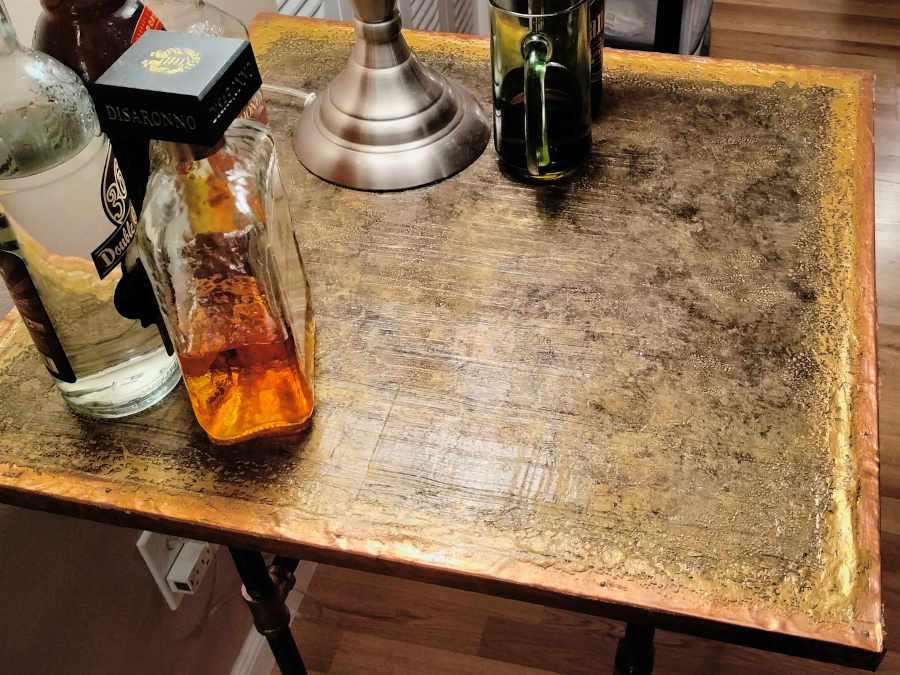

Lookin' good, lookin' good!
But, oops... We seem to have forgotten to slap those corner guards on first.
And neither of us was all that keen on lugging the tables back inside a second time and setting all the props back up to take another round of pics.
So, @#$% it. These would have to do...
Final Summation
So?
Mistakes were made.
Then more mistakes.
Then even a few more.
But, we rolled with the punches at every turn and still managed to create something unique and pretty cool.
And, aside from a wicked sunburn or two, neither of us has contracted tetanus, received a chemical burn, or lost a finger to a saw blade yet.
I'm not sayin' we're chalking this one up as a full-blown win; but, all things considered?